2 Hands
Phillips screwdriver (optional)
Scissors (optional)
6mm Allen (optional)
Video:
Here is a great video from a custom showing the install of the hatch seal.
Procedure:
There are several ways the hatch seal can be installed.
Procedure 1: For cars without a rear wiper and without a 3rd tail light.
1. Remove the old hatch seal.
2. Clean all the goo off the car, from where the old seal used to be.
3. Remove both hatch struts (while supporting the hatch) and install the hatch seal onto the body of the car.
4. Reinstall both hatch struts and you are finished.
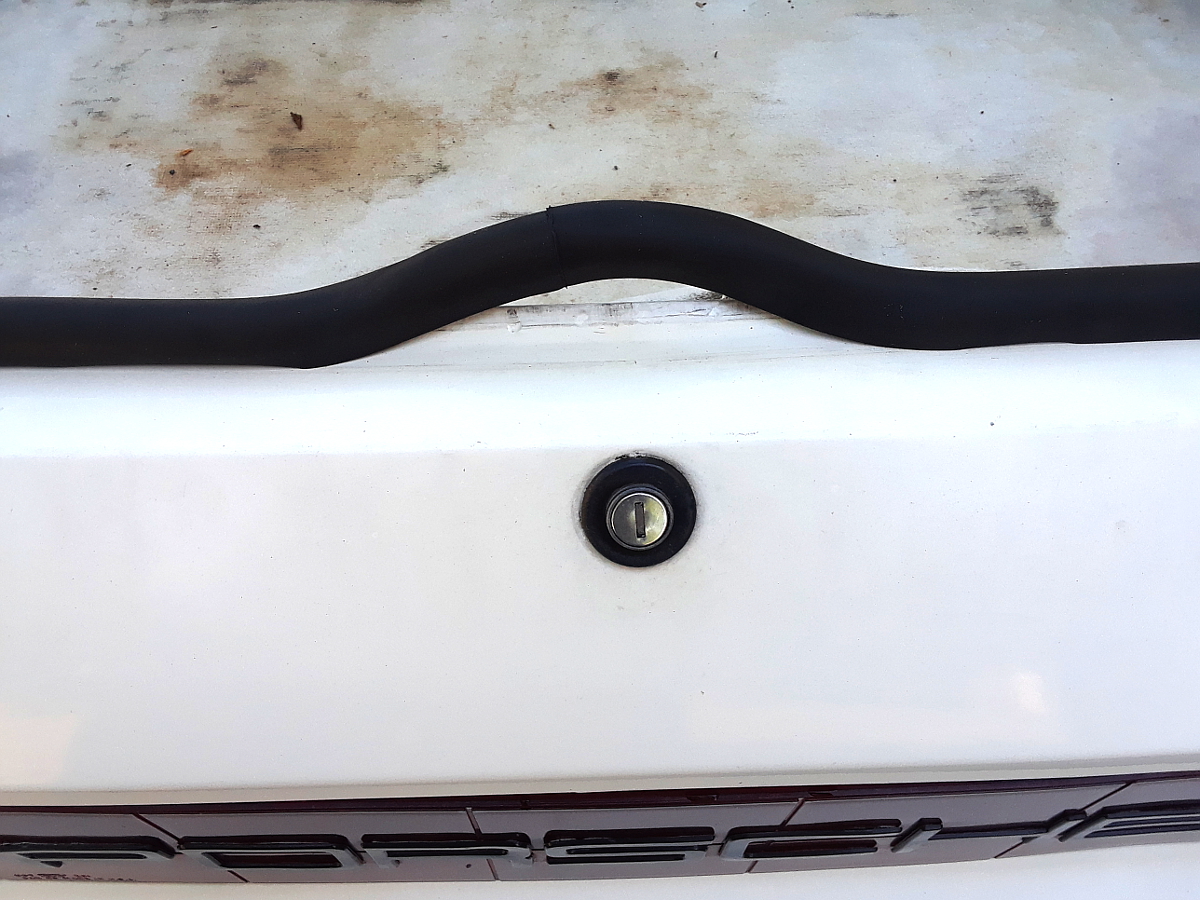
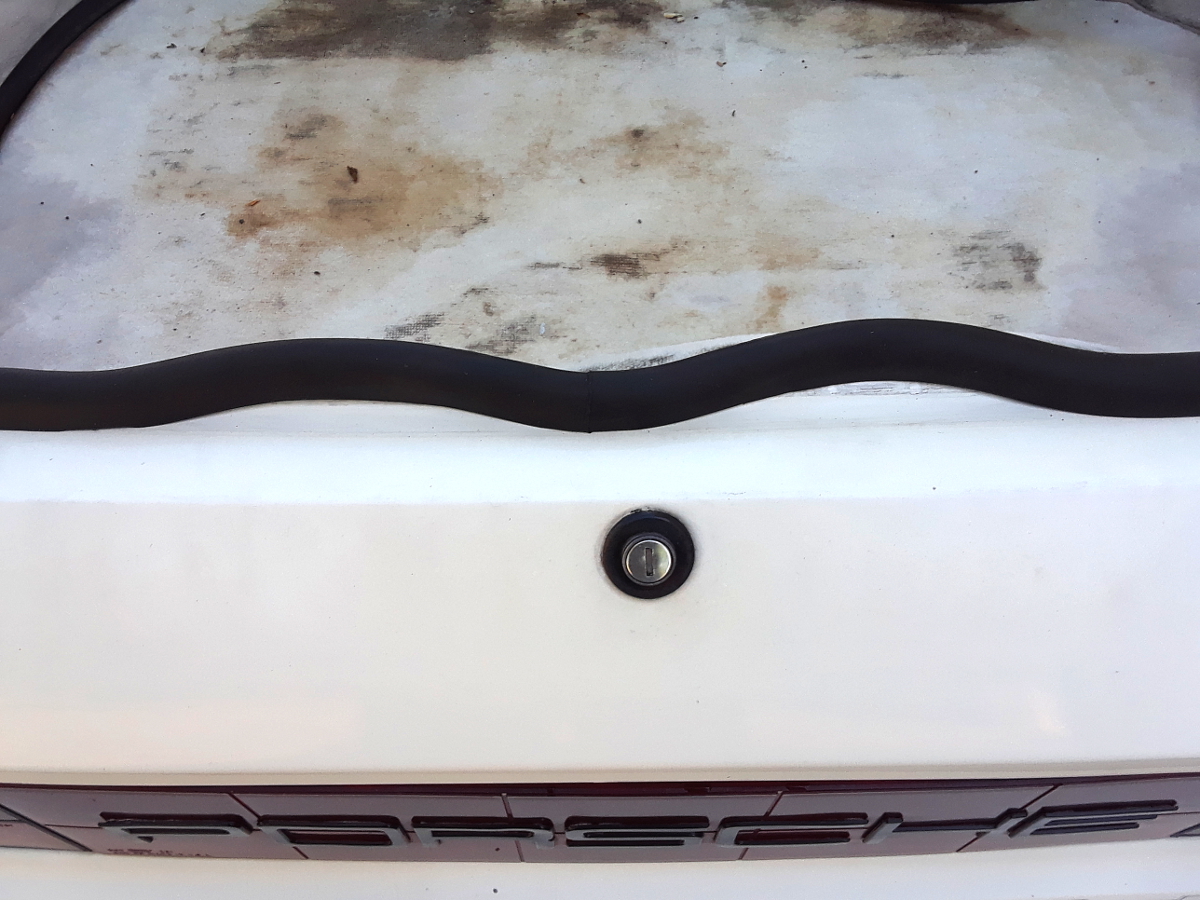
5. Since the seal is rubber it’s easily stretched when installed. If you are installing the seal and it appears to be too large like in the picture below don’t worry, here is how you fix it.
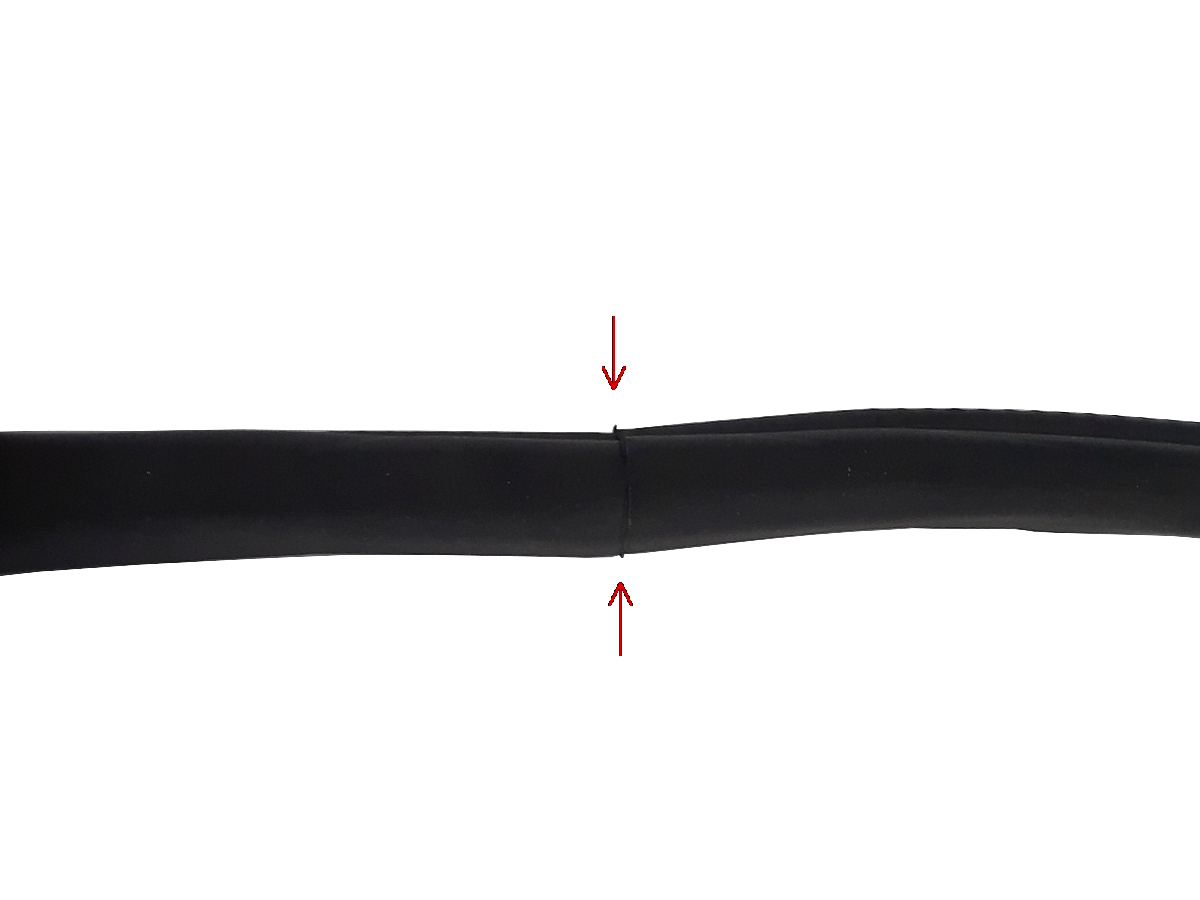
6. Remove about 2 feet of the seal from the car, and reinstall it with 2 smaller humps in the seal instead of one large one. Then simply push down on the smaller humps and it should compress the seal and it should fit great.
Procedure 2: For cars with a rear wiper or a 3rd tail light.
1. Remove the old hatch seal.
2. Clean all the goo off the car, from where the old seal used to be.
3. Find the seam of the seal and use scissors to cut the seal. Cutting the seal at the seam is easy with normal scissors, there are no metal clips in that location.
4. Now you can easily slide the seal between the wiper/3rd light wires and around the hatch struts and install the seal onto the body of the car.
5. Since the seal is rubber it’s easily stretched when installed. If you are installing the seal and it appears to be too large like in the picture below don’t worry, here is how you fix it.
6. Remove about 2 feet of the seal from the car, and reinstall it with 2 smaller humps in the seal instead of one large one. Then simply push down on the smaller humps and it should compress the seal and it should fit great.
Procedure 3: For cars with a rear wiper or a 3rd tail light.
1. Remove the old hatch seal.
2. Clean all the goo off the car, from where the old seal used to be.
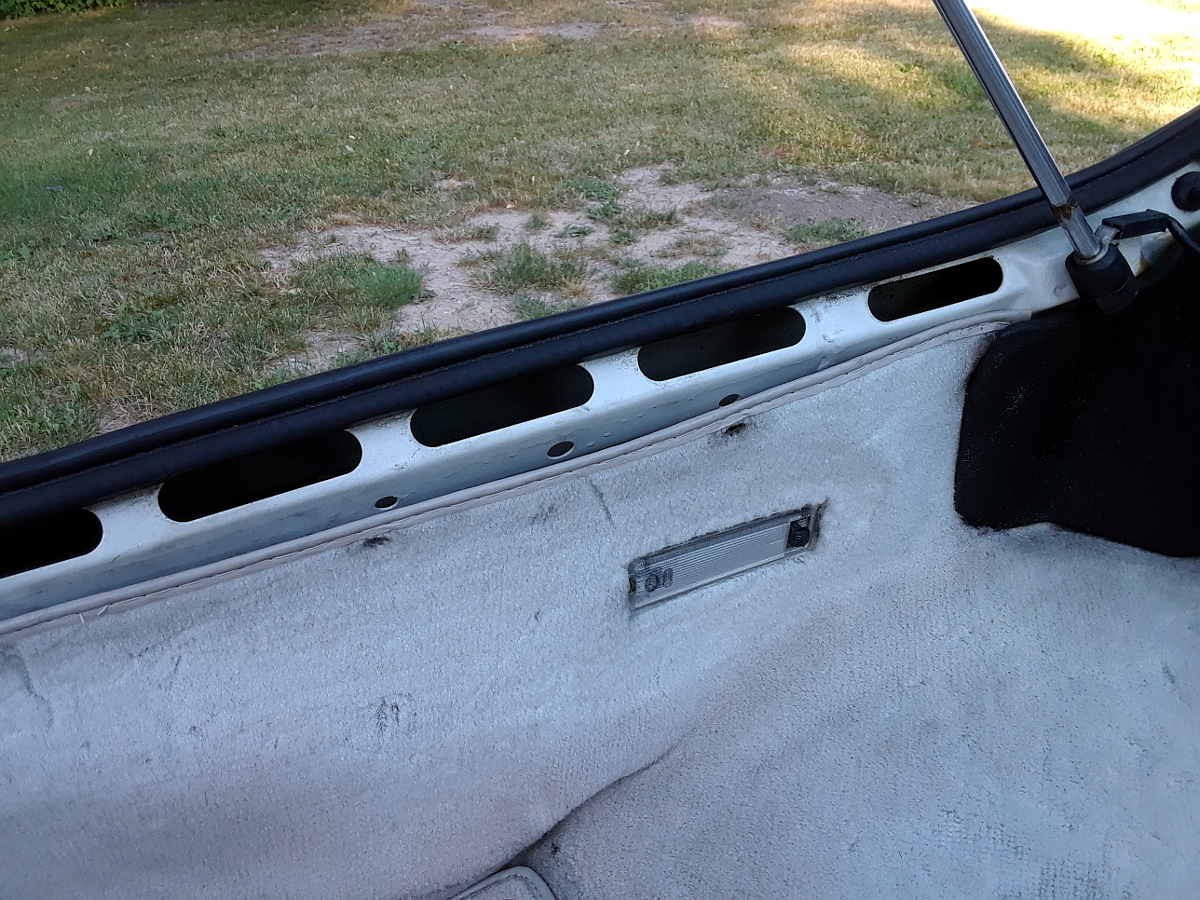
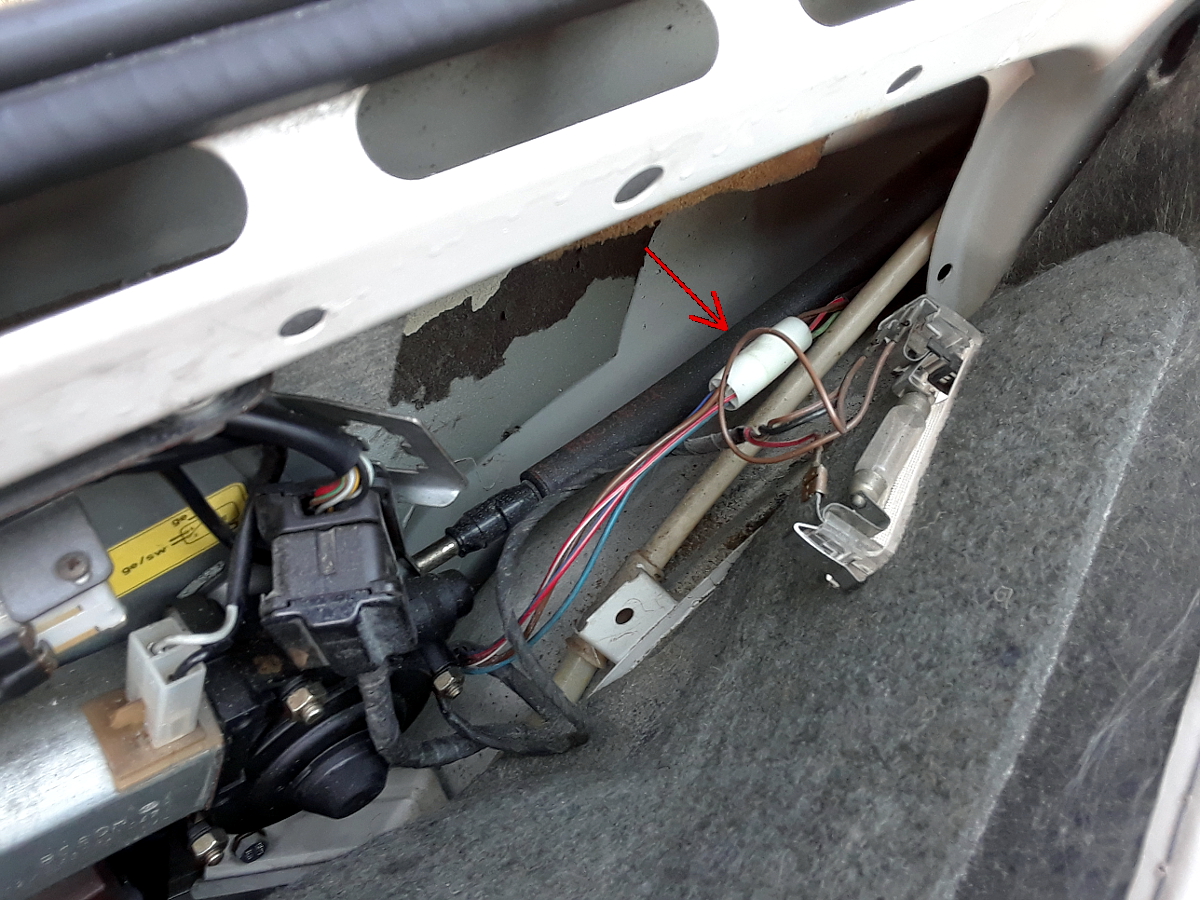
3. Unclip the carpet on the left side of the car. Pull it back and locate the white plug. This plug goes to the wiper and the 3rd tail light.
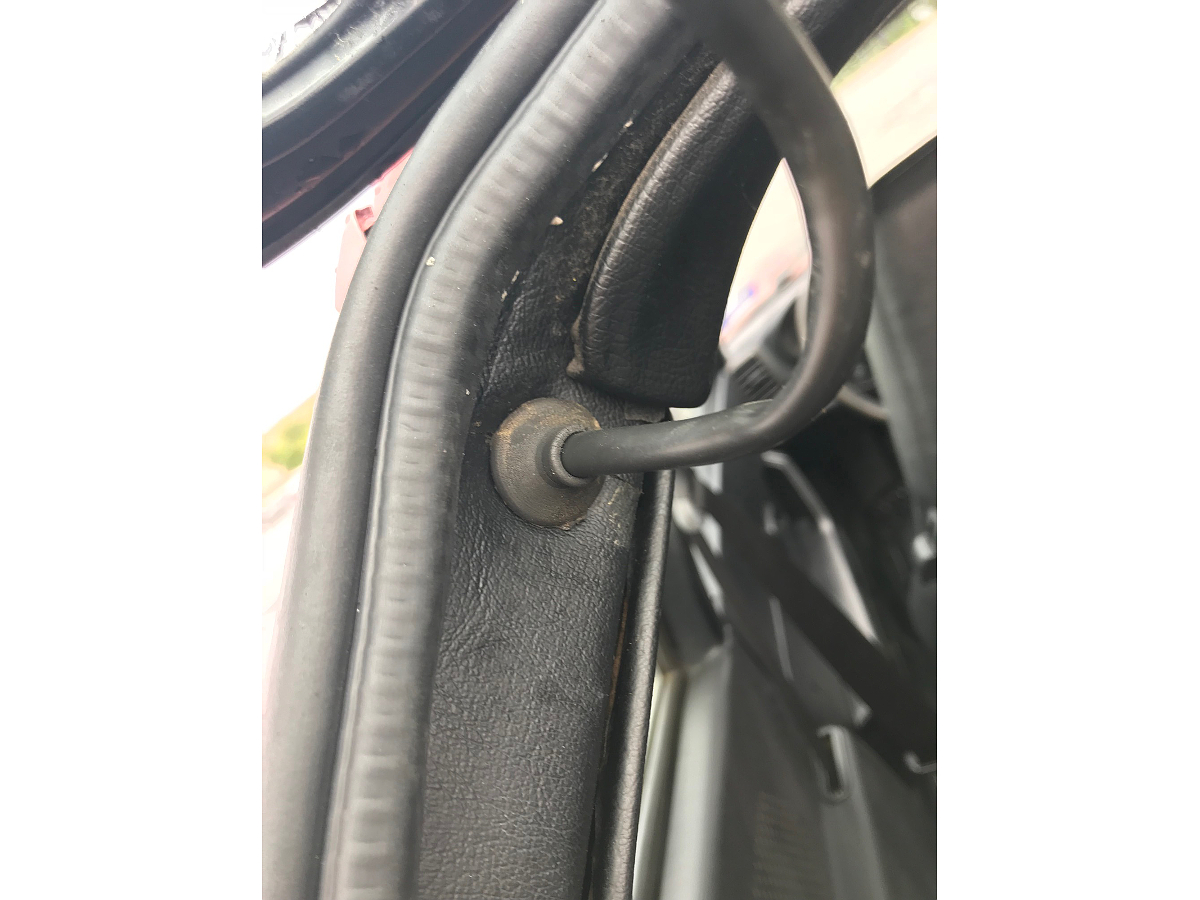
4. Remove the grommet for the wires and pull the wires and plug out through the hole.
5. Remove both hatch struts (while supporting the hatch). Then install the hatch seal.
6. Replace both hatch struts and put wires and grommet back in the hole and plugged in, and you are finished.
7. Since the seal is rubber it’s easily stretched when installed. If you are installing the seal and it appears to be too large like in the picture below don’t worry, here is how you fix it.
8. Remove about 2 feet of the seal from the car, and reinstall it with 2 smaller humps in the seal instead of one large one. Then simply push down on the smaller humps and it should compress the seal and it should fit great.
Procedure 4: For cars with a rear wiper or a 3rd tail light (least recommended option).
This way of installing the hatch seal is not really recommended because it can put extra stress on the hatch glass causing it to loosen from the frame. If your hatch glass has been resealed then this method might work good. There is no need to remove the hatch struts or wires when installing the hatch seal this way.
1. Remove the old hatch seal.
2. Clean all the goo off the car, from where the old seal used to be.
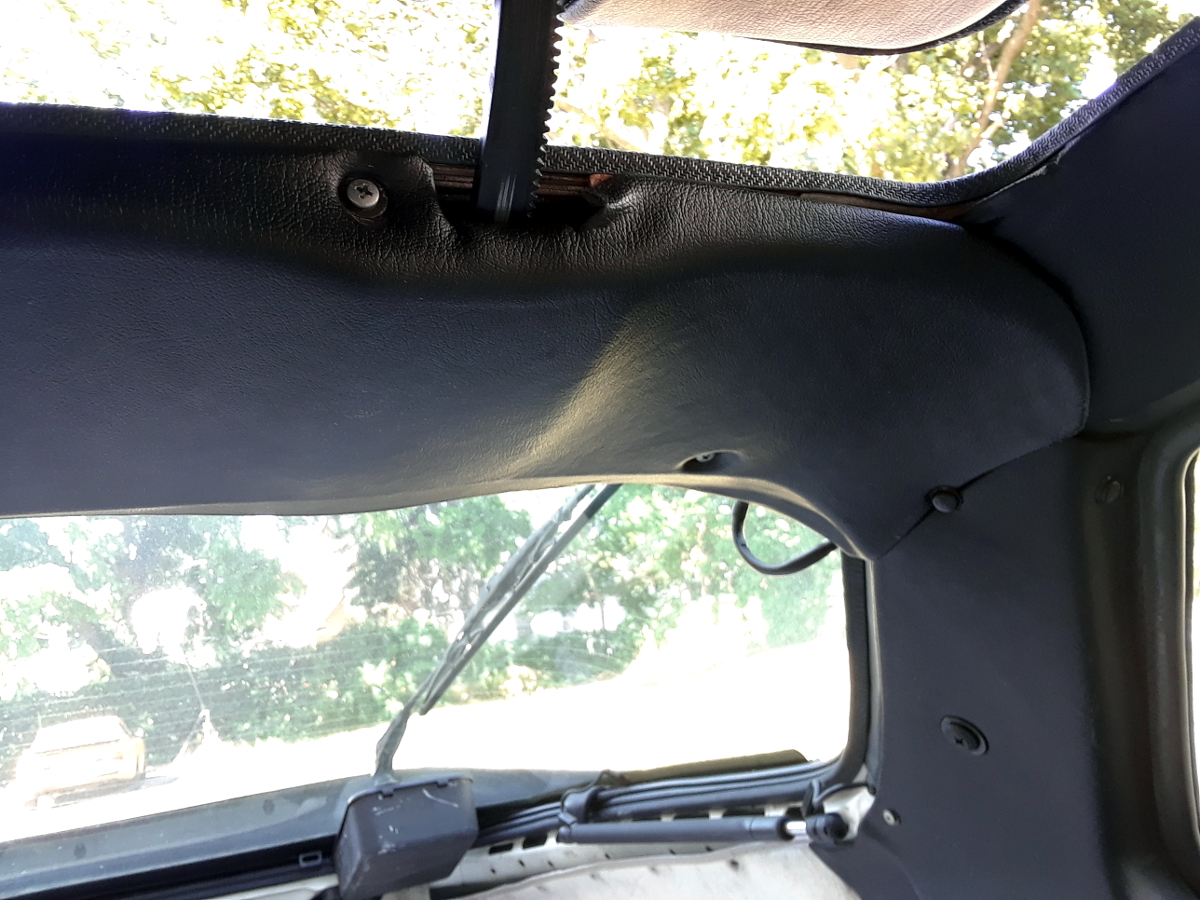
3. Remove the rear headliner cover from between the sunroof and hatch.
4. Locate the 2 bolts on each side that hold the top of the hatch to the body of the car. (do not remove the headliner at all, it’s hard to get back up) There might be 2 holes in the headliner to access these bolt, or there might not. If not, carefully cut the headliner to get to the bolts.
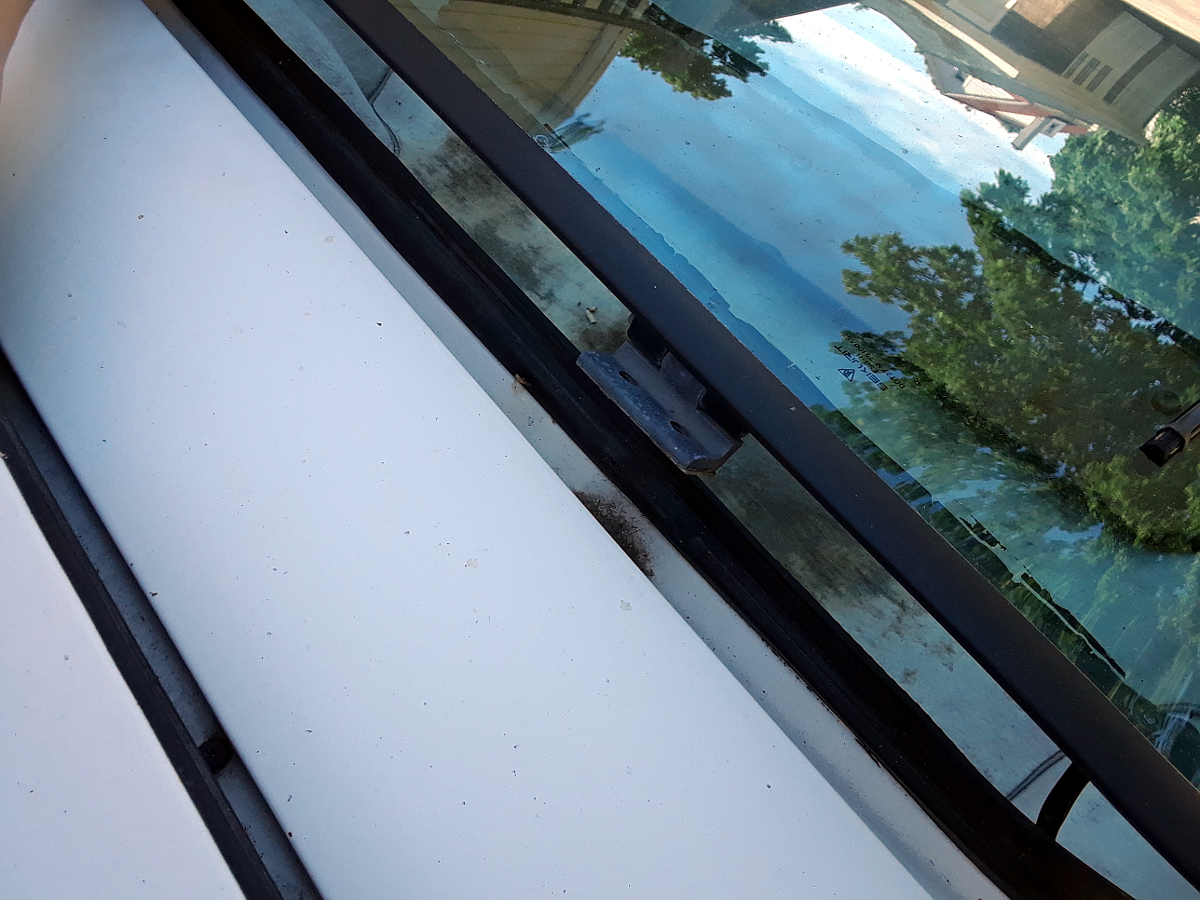
5. With the hatch closed and locked, remove all 4 allen bolts (6mm). Hatch struts should remain on.
6. Carefully lift up on the top of the hatch glass. Lift only in the center of the glass, directly above the 3rd light. Lifting up on the sides will twist the frame and loosen the glass. Only lift the glass up about 5-6 inches (12-15cm) high. Securing it with a small wooden block works good, or the help of a second person to hold the glass up while you install the seal.
7. With the hatch seal outside the car, install the top of the hatch seal onto the body of the car. Install as much as possible, at least the full top and around the edges.
8. Bolt down the top of the hatch, with the rest of the hatch seal hanging outside the car.
9. With the top of the hatch bolted tight, open the hatch and install the remainder of the seal onto the body of the car.
10. Reinstall the cover inside the car and you are finished.
11. Since the seal is rubber it’s easily stretched when installed. If you are installing the seal and it appears to be too large like in the picture below don’t worry, here is how you fix it.
12. Remove about 2 feet of the seal from the car, and reinstall it with 2 smaller humps in the seal instead of one large one. Then simply push down on the smaller humps and it should compress the seal and it should fit great.